
Maintaining a bathroom is not just about enhancing the aesthetics of your bathroom but also about its functionality and comfort. With time, bathroom fixtures like a bathtub can suffer damage from cracks, chips, and holes. But you do not need to worry, because a small bathtub crack or hole does not require complete replacement; it can be repaired with a DIY repair. At A&L Tile Company LLC, we are here to share our best tips for bathtub repair, so you can tackle common bathtub issues confidently.
Step-By-Step Guide To Fixing Your Bathtub
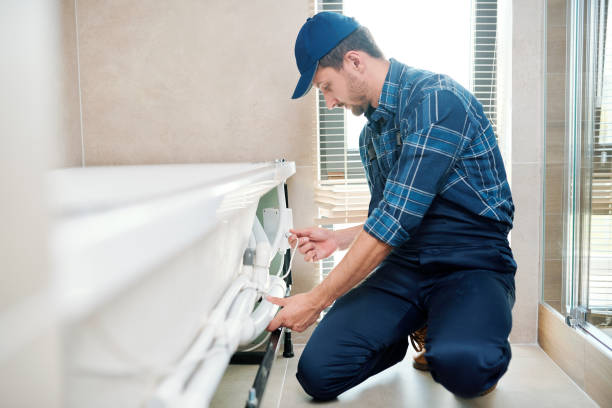
Whether you want fiberglass, acrylic, or enamel-coated bathtub repair, we will guide you through the whole process, what tools and materials you need to repair bathtubs, and when you need to call pros.
Let’s have a look at the step-by-step DIY bathtub repair process:
- Materials And Tools You Need
Gather all the tools and materials you need to fix minor bathtub damage. Here is the list:
- Bathtub repair kit according to your tub material
- Resin or epoxy fillers
- Sand paper
- A knife or applicator
- Matching paint for touch-up
- Microfiber cloth
- Rubber gloves for safety
Bathtub repair kits are available at hardware stores that contain everything you need to repair a minor crack or chip.
- Clean The Surface
Thoroughly clean the damaged part of your bathtub to remove any grime, soap residue, or body oils that can prevent adhesion. Then dry the surface with a microfiber cloth.
- Damaged Part Sanding
With the help of a medium-grit sandpaper, roughen the damaged area. If you want to repair a crack, then widen it with the help of a knife so that the filler can bond better. Sanding creates a better surface for the epoxy or filler to grip properly.
- Apple Epoxy Or Filler
Prepare your filler or epoxy according to the instructions mentioned in your repair kit. Use an applicator or a knife to fill the chip, crack, or hole. Apply the material properly and level it with the tub’s surface. Smooth out the edges and blend it with the surrounding area.
- Smooth Out The Surface
Give the filler or epoxy the recommended time of 6-12 hours to cure it completely. Once it is fully cured, use fine-grit sandpaper to smooth out the surface. Smooth it until the repair merges with the rest of the tub surface. Then clean the area again to remove debris and dust.
- Apply Finish Paint Or Coat
Your bathtub repair kit might contain touch-up paint ot color-matched coating. Apply it carefully over the damaged part with a small brush. This will restore the appearance of your bathtub and protect the repair. Let the coating dry completely before using the bathtub.
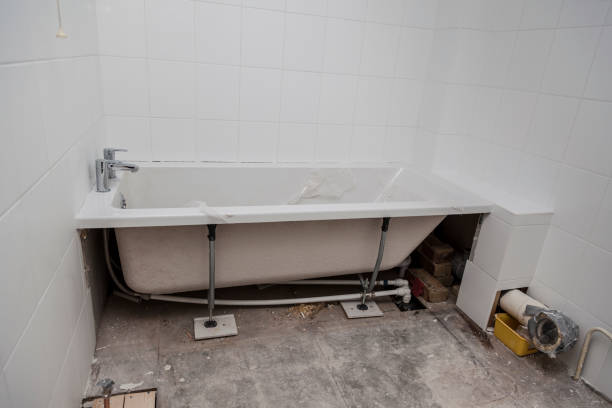
Crack, Chip, and Hole: Common Types Of Bathtub Damage
Before you begin your bathtub repair, it is essential to know what type of damage it is, because different bathtub damage require different solutions. It also depends on the type of material of your bathtub.
- Surface cracks: Common in fiberglass and acrylic bathtubs. It happens due to temperature fluctuations or high impact.
- Nicks and chips: It can occur in enamel-coated, iron, or steel tubs. It often happens due to dropped objects.
- Small homes: They usually appear in fiberglass tubs due to a weak structure. It can sometimes lead to leaks if not addressed on time.
Some Mistakes To Avoid
DIY seems exciting and cost-effective, but some mistakes can turn it into a frustrating experience. Here is what you need to avoid during DIY bathtub repair:
- Skipping surface preparation: Soap and oil residues on the bathtub and be a hurdle in the curing of filling or epoxy, causing a less durable repair.
- Mismatched repair kit: Using the wrong bathtub repair kit for your bathtub material will result in an uneven finish.
- Overfilling: Applying too much epoxy or filler on the surface can result in an uneven surface, which will be harder to smooth out later.
- Ignoring instructions: Every kit comes with the manufacturer’s instructions. Ignoring those instructions can lead to a failed repair.
- Avoiding post-repair care: Using the bathtub immediately after repair can lead to further damage.
Conclusion
Bathtub damage does not always mean a full replacement. With the right tools and materials, you can restore the beauty and functionality of your bathtub with a DIY fix. However, for larger cracks or when you want a seamless finish, trust the experts. They ensure lasting and flawless results that save you money and elevate your bathroom’s appeal.
FAQs
How much does a professional bathtub repair cost?
Professional bathtub repairs cost from $150 to $500, depending on the extent of damage.
Is it safe to use the bathtub after DIY repair?
Yes, it is safe if the coating is completely cured. It usually takes 6-12 hours.
How long does a bathtub repair last?
Properly done DIY bathtub repairs last for years.